
There is a new and very simple process to adding printers to your FirstFleet computer.
1. To get started, go to the desktop and in the bottom right corner click the up arrow to expand your icons
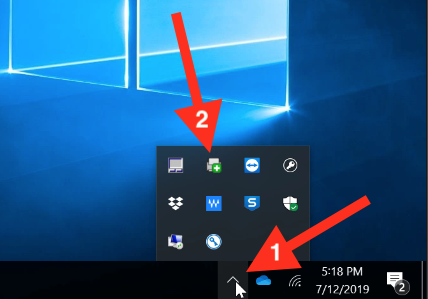
2. Tap the printer icon and your web browser will open
**If using edge, explorer or firefox, please jump to step ___
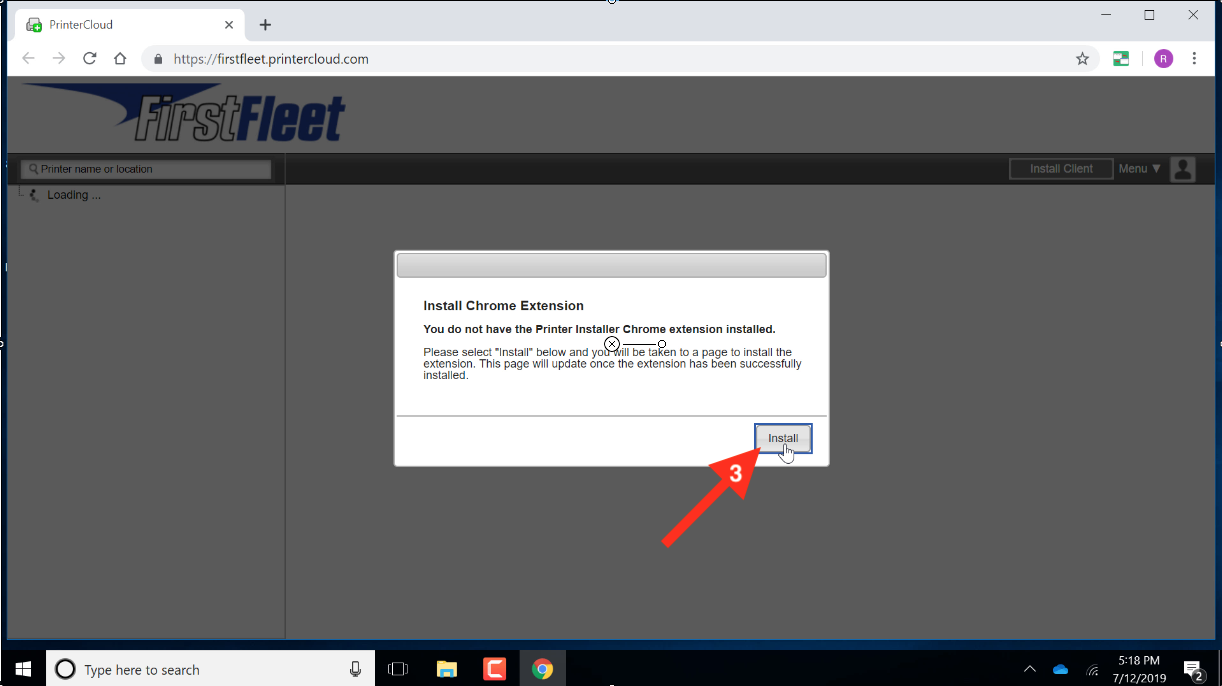
3. If you are using chrome, you will first need to download an extension. Click Install
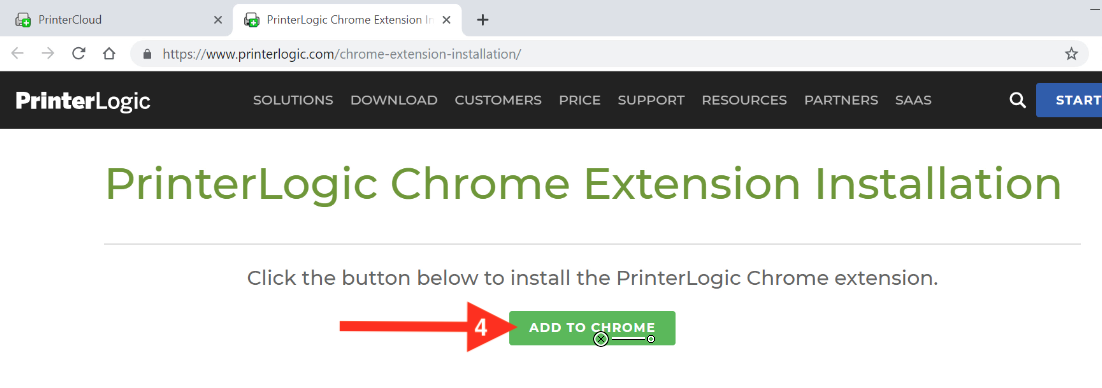
4. It will check for the extension and if not found, you will need to click Add to Chrome
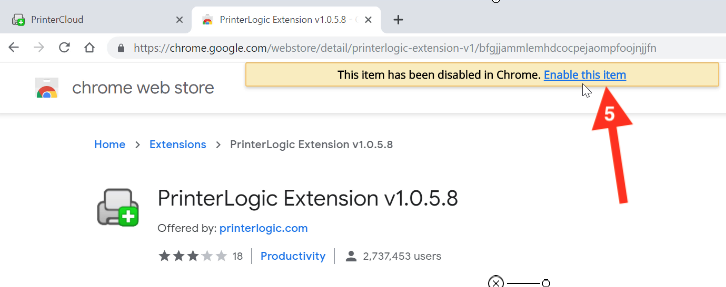
5. If you see a warning along the top that the item has been disabled, please click Enable this item
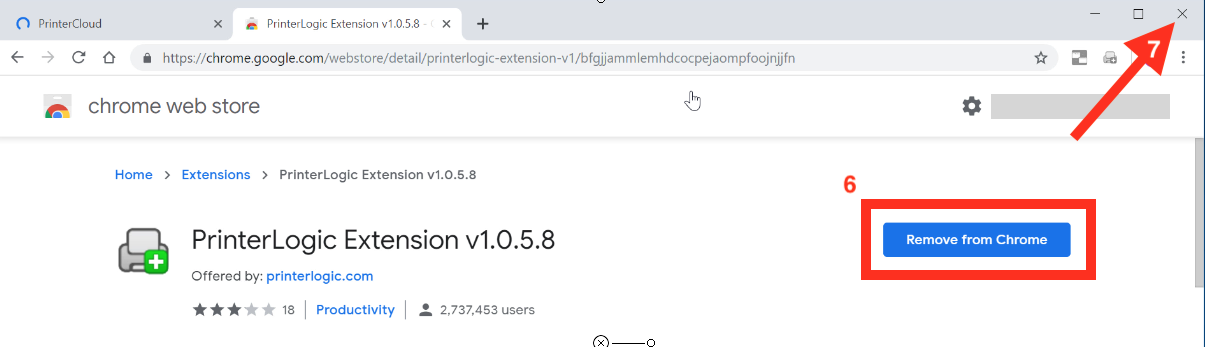
6. You will know it has finished downloading when you see a blue box that says Remove from Chrome
7. Now, close out of chrome
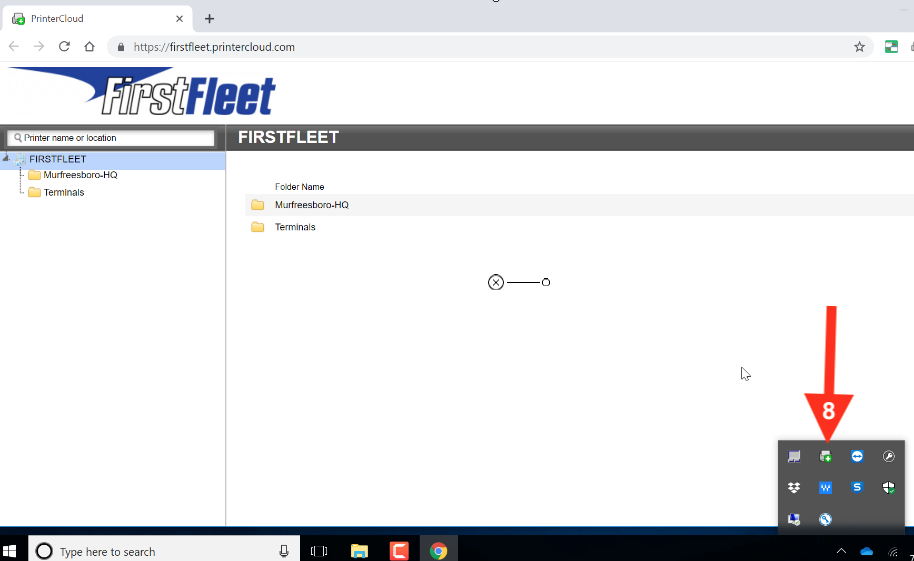
8. Return to the printer icon and click it again to open the PrinterCloud
9. You can select any terminal printer by opening the Terminals folder
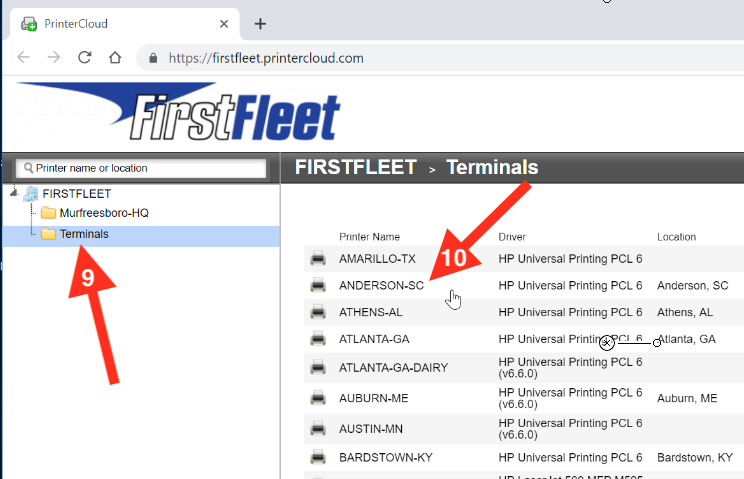
10. Double click on the terminal printer you wish to print to
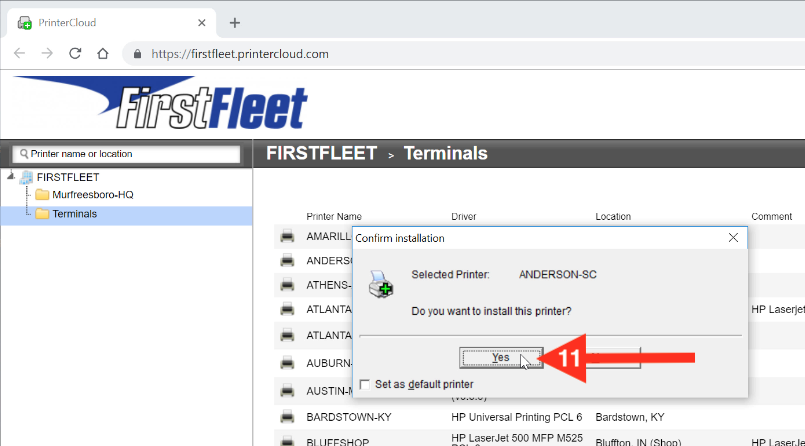
11. Confirm Installation and then wait for the drivers to download
12. The next time you go to print something, you will see that printer in your menu.
*Please Note: We don't recommend you add ALL Terminal Printers in order to help keep your printer list manageable.
Comments
Please sign in to leave a comment.